

Tomorrow is Groundhog's Day! I am seriously hoping for an early spring this year; (seems like good 'ol Punxsutawney Phil always sees his shadow). My kids had never heard of Groundhog's Day before, so I taught them a little bit about how the groundhog predicts early spring if he doesn't see his shadow. Naturally, I had to whip out some materials to do a craft to celebrate Groundhog's Day! This year we made groundhog foam masks.
Groundhog Masks
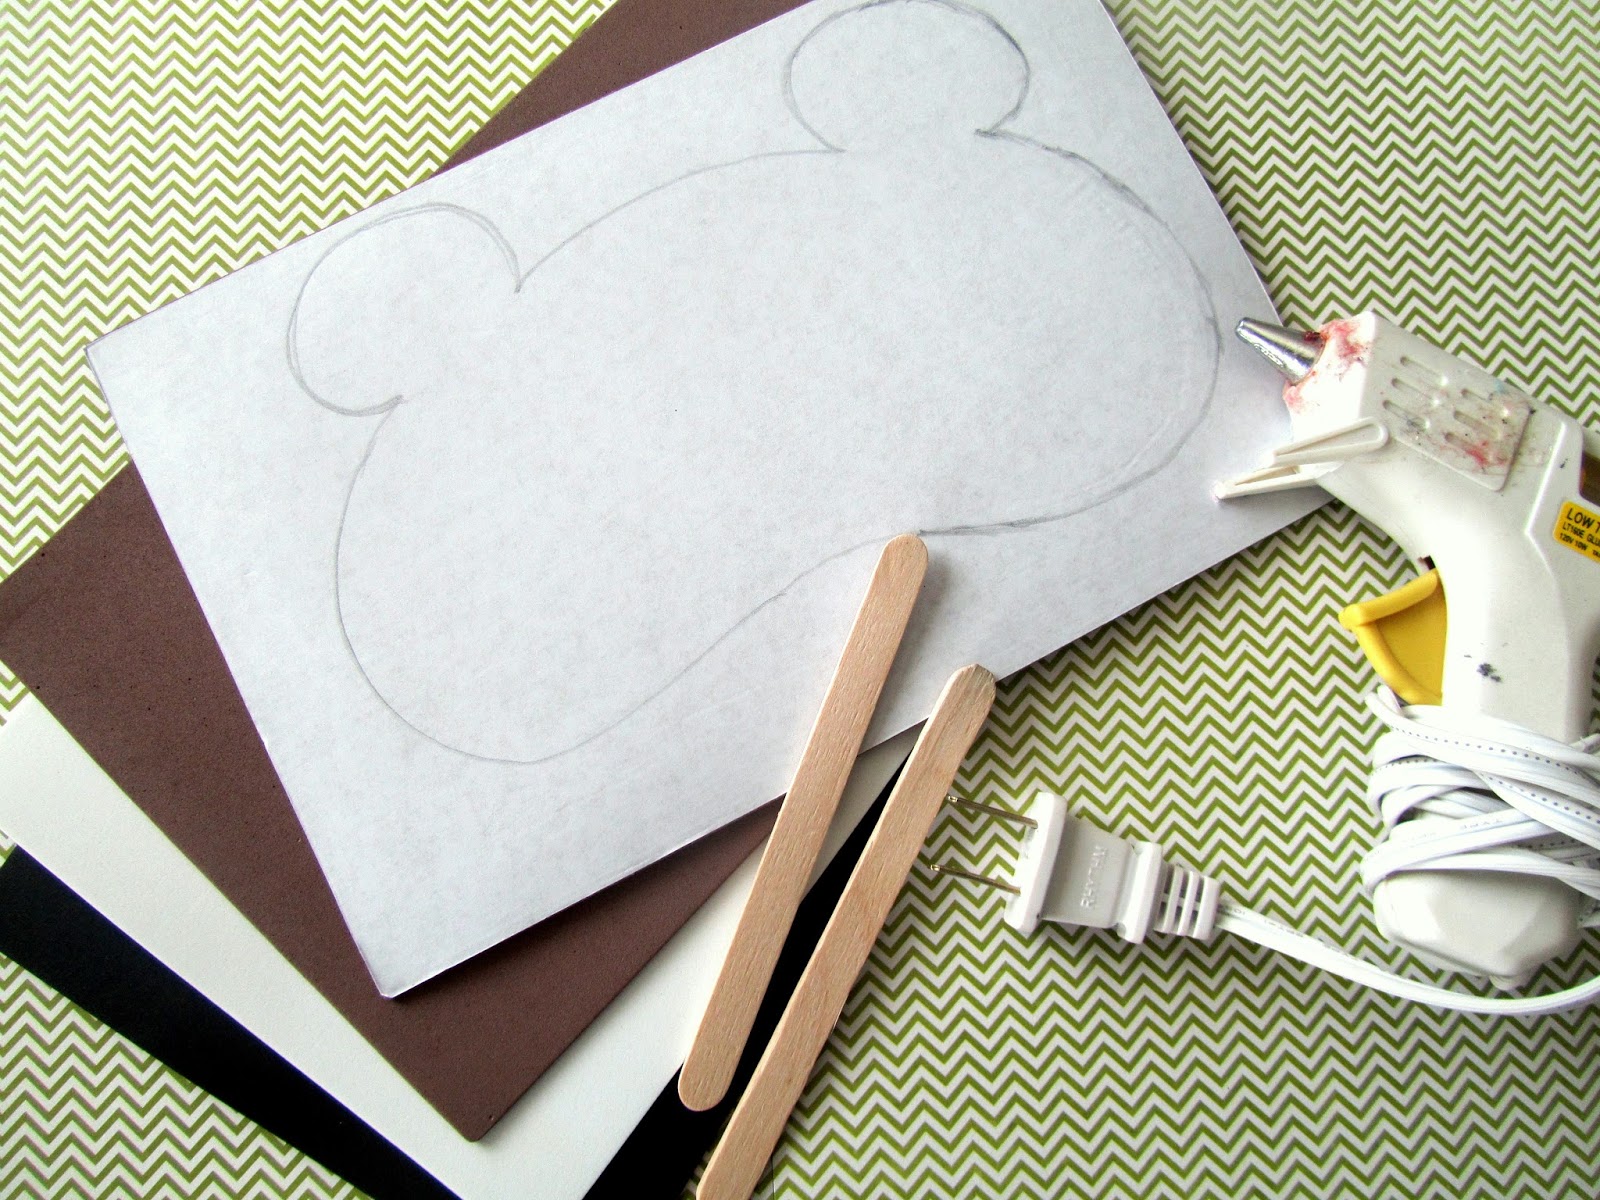
Materials Needed:
- Craft foam (white, brown, & black)
- A pencil
- Scissors
- A craft stick
- Hot glue gun
Directions: Using your pencil, draw a groundhog's head onto to back of the craft foam (see above). Cut out the head. Measure out where the eyes need to go on your child's face. Draw where you need to cut out the eyes. Cut out the eyes. Draw two white circles for the eyes. Hot glue the white circles to the mask and cut out the eye holes again. Cut out a large black oval for the nose. Hot glue it onto the mask. Finally, cut out two long, white rectangles and glue them on behind the nose for the groundhog's teeth. Glue on your craft stick and you are done!

Aren't the groundhog masks so cute?!

My kids ran around the house laughing at how silly they looked.

Like this idea? Make sure to share it and pin it!
The groundhog's masks were a huge success. Make a mask with your kids! They are so simple and inexpensive. What do you do to celebrate Groundhog's Day? Share in the comments. I'd love to hear from you!

 |
| Springtime Paper Rocking Birds |
 |
| Where's Waldo Cardboard Box Tunnel |
No comments:
Post a Comment